
Lumberjack
One Button to fell them all!

A small scene from the USA: Lumberjack Joachim (his friends call him “Joe the Jack”) has taken his car into the woods. He is willing to follow his therapist’s advice and relieve inner pressure by cutting down some trees. With devotion he chops down a big fir tree. The fir can only stand so much, eventually falls and disintegrates into several parts.
This is a funny little scene, which iscomparatively easy to realize with little technological effort and it could also be used for a smaller model railway at home. Therefore we have a little step by step tutorial for you, and invite you to try this at home:
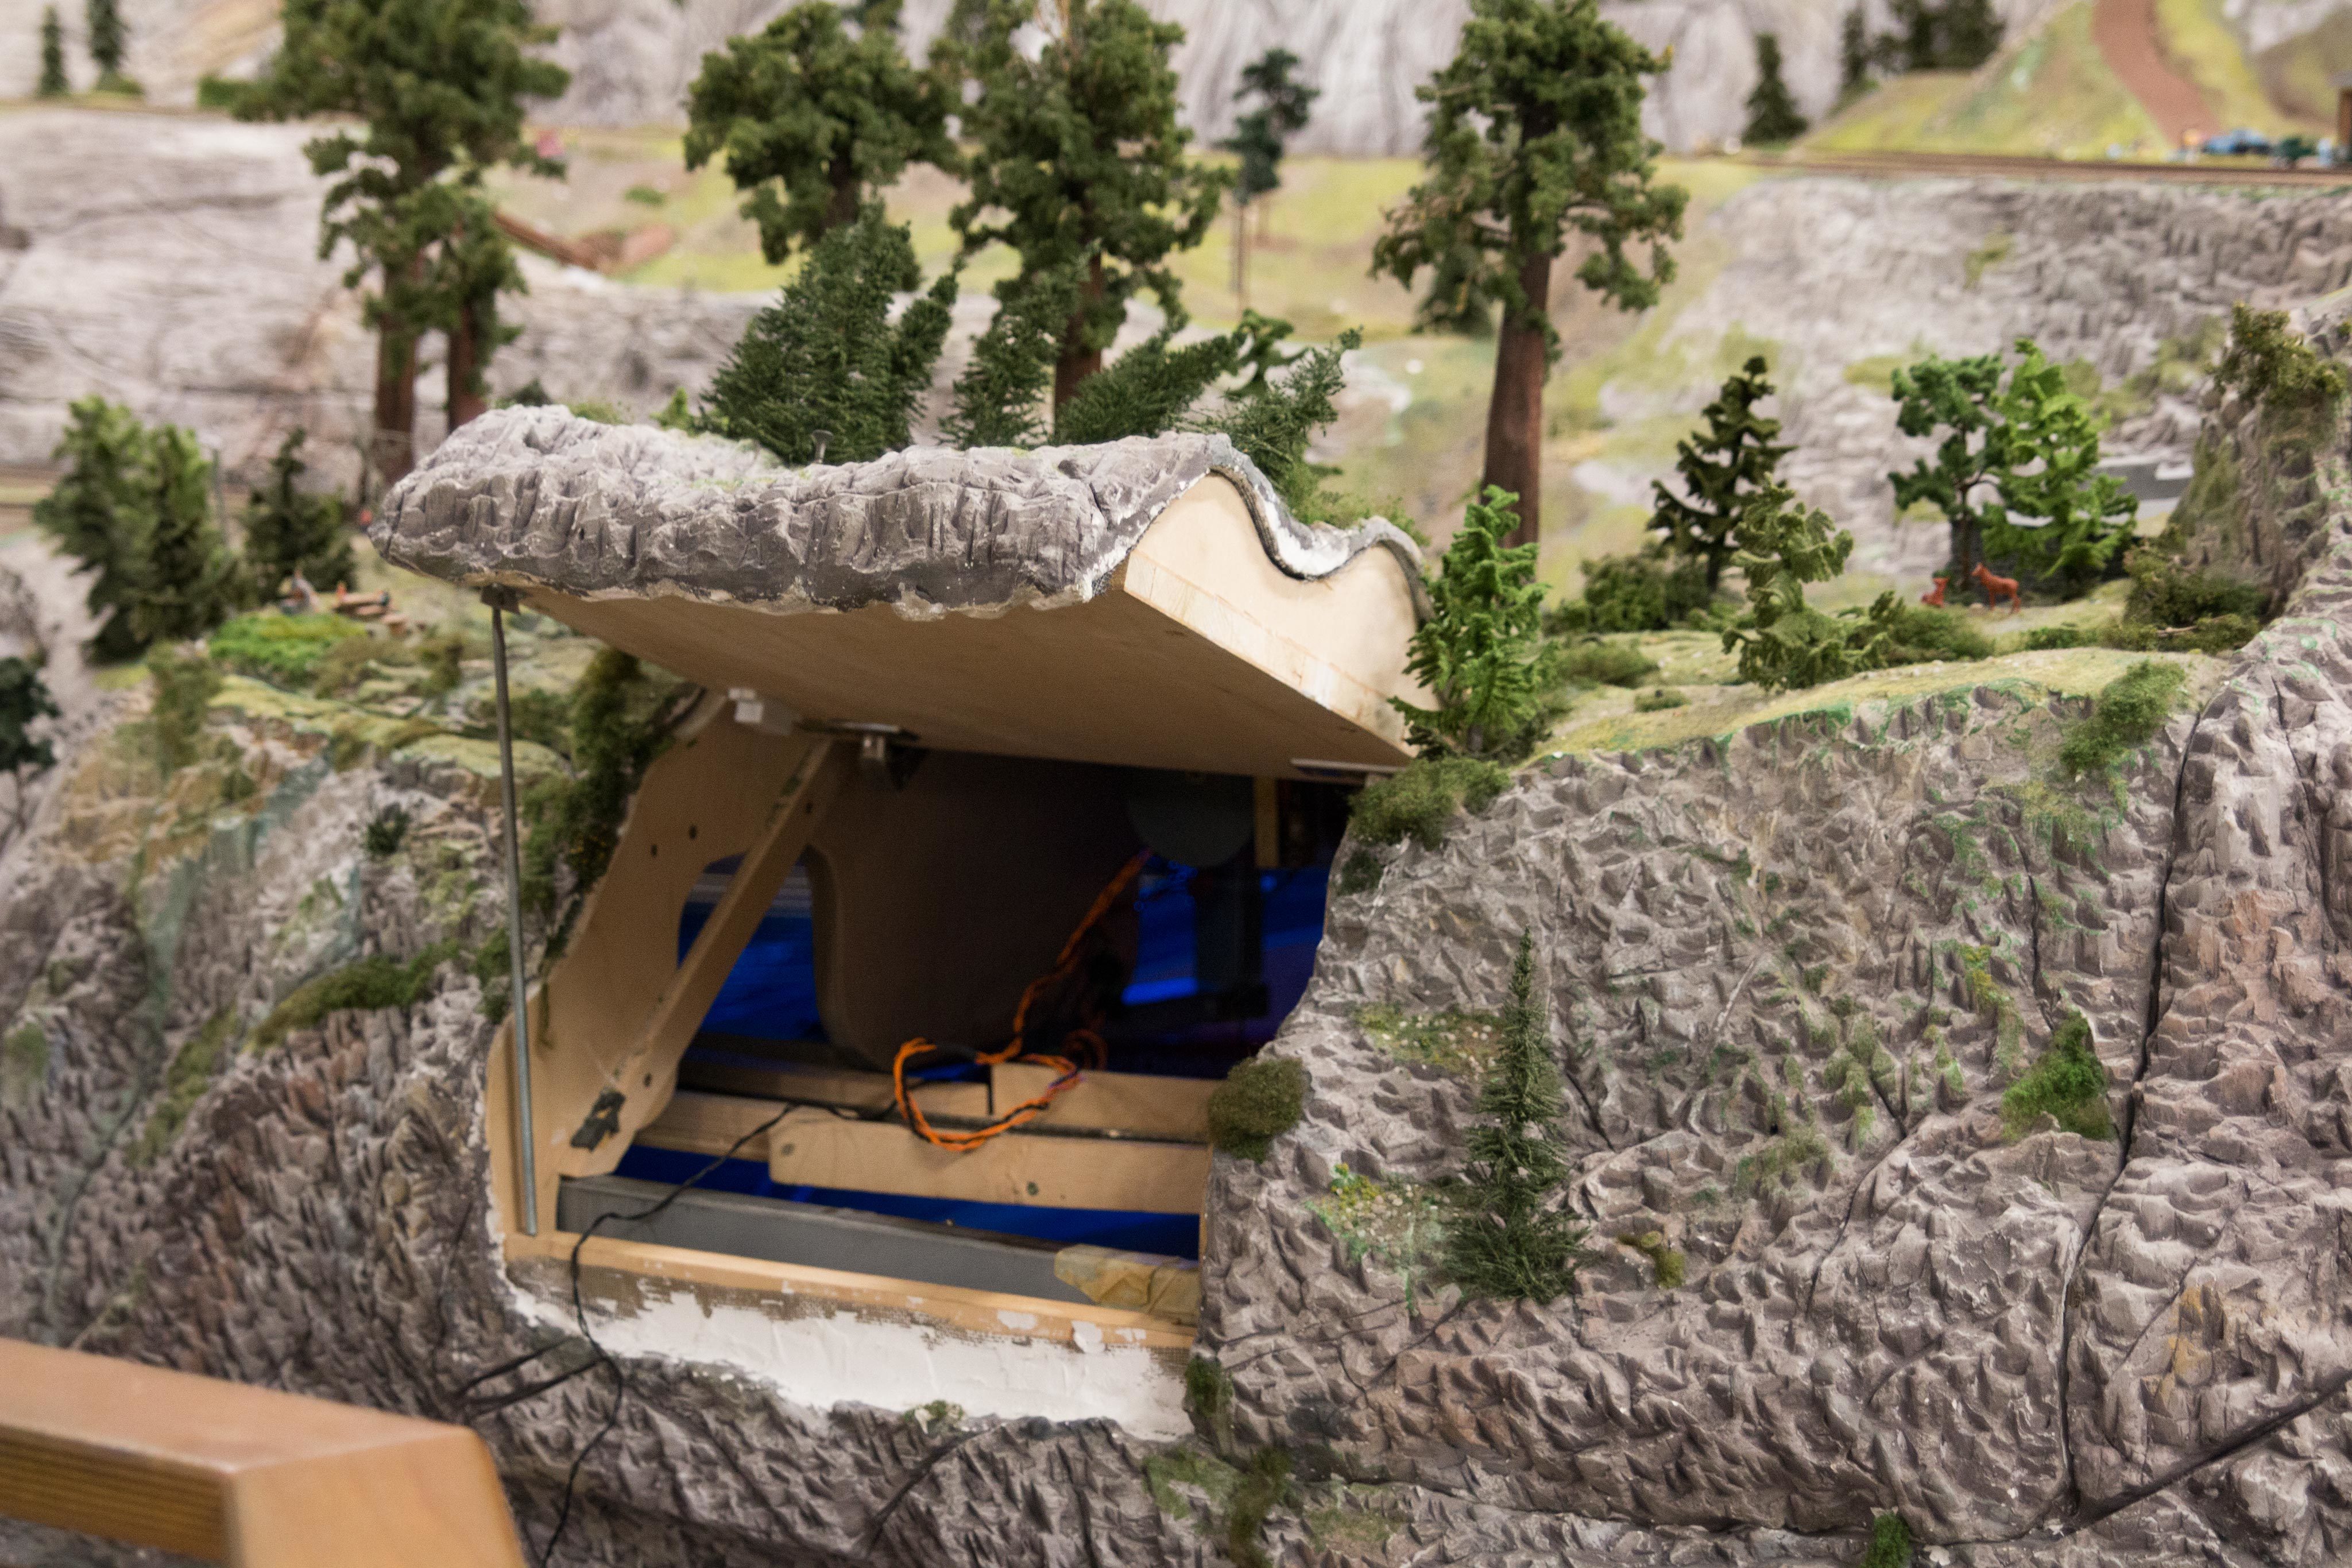
The first step is the baseplate. With such an enclosed technical scene, and should you have trouble accessing the space below your model layout, we recommend to build this as a module. Just saw out the part of the baseplate from your layout’s base plate. This way you can take the module out, should technical repairs or servicing be necessary and should you otherwise not be able to reach it from the bottom. It would be ideal if the surface of the site had at this point already been outfitted with buildings, streets and plants, so the module integrates seamlessly.
1. The falling Tree

The fir tree is based on the principle of a tumbler. It is made from a brass tube which will form the stem of the tree. The tube has to be sawed into four parts so the felled tree can break apart and spread over the ground. The lowest cutting edge is tapered to make sure the tree will fall into roughly the same direction every time. If you cut it even the falling direction will be random, which might be fun too.
Next you thread some fine steel threads through the tube (we used four threads - redundancy rules!) and soldered them into the topmost piece of the tube. Then we drilled a little hole into the baseplate, where the fir will be standing. You can add a socket to the hole to protect your baseplate if you like.
Now you install a lever underneath the plate, you can see its center of rotation a little to the right below the fir tree. To this you solder the other end of the steel thread. The thread should have so much play, that the tree (the assembled brass tubes) can just fall into its single parts when the lever is up and that the tree is once again erect once you pull the lever down again. This part will be carried out by a spring pushing the lever down. You can’t see it in the picture, but it is situated on the far end of the lever (here left) for maximum leverage and to not stress the spring too much.
To make the tree fall on the push of a button you simply have to push the lever up for a little while. In our case we have used an engine with an eccentric disc attached to it (meaning here, the disc is not attached in the center of the axis making the rotation wobbly.) On comparing the two detail photos you see the two relevant states of the eccentric: In the lower position it doesn’t touch the lever, the tree stands upright. Once the engine turns half a rotation the disc, wider on this side, pushes the lever, deactivates the force of the spring and the tree falls. Making sure the engine only ever turns half rotations can most easily be solved with a limit switch attached to the eccentric or another moving part attached to the axis and will feedback after each half rotation. You can reprogram the engine with e relay to make it move back in the other direction. An optional voltage regulator could accomplish the engine to run slower than the falling process during re-erecting the tree.
The last part is making the tree look like a fir tree. For this you color the tube brown, like bark, and take the branches of a couple of model building fir trees and glue them to the tube. Make sure it holds together well, since the weight of the tube will repeatedly rest on the branches when the tree falls. Now the animation and the tree are ready.
2. Joe

Now here is how to make Joe the lumberjack. Take a figurine and provide it with outstretched arms and an axe. Attention shoppers: it is absolutely mandatory to wear cut resistant workpants according to DIN EN 381/7! Mandatory!
To make Joe wildly chop the tree we unfortunately have to sever his upper body. And one of his legs needs to be hollowed out with a drill, ideally so that the upper hole will come out flush with the center of the body. Next we attach a rotation resistant spring steel wire to his upper body and thread it through the hollow leg. We also drill a hole into the baseplate where Joe will be standing and thread the wire through here as well. Now we can glue Joe’s feet to the ground.
The wire will now be attached to an engine. Here we have used a comparatively strong engine from the Car System vehicles. You can generate the quick hacking motion by continuously and quickly reversing the polarity of the engine. Engines don’t like that treatment very much and suffer damage from it, so it is wise to use a far lower voltage than usually, e.g. 0.5 instead of 3.5 volts.
You can build controls for this from relays and limit switches as well and then activate it via decoder through a digital control unit. You can optionally work with feedback contacts as well, to report current status or limit switch stops to the control unit.
And there you go; the little forest scene is all set!
Should you face some challenges during rebuilding feel free to write us in our Forum.


